
One of the most powerful benefits of automation is the ability to automatically generate specific tasks and sub tasks based on virtually any change to a new project.
This chapter will teach you how to configure recurring tasks and automate task creation.
How to Identify Recurring Tasks / Projects
You might be all excited about automation… It might seem like a silly question, but sometimes getting down to the exact task that you need to, and what and how to automate can be somewhat of a challenge.
Yes, automating a task sounds pretty obvious — you do the same task over and over again, and you begin to wonder if you could just automate it instead.
Imagine that exact process at scale, for your team, and for many projects at once.
Usually when we want to automate something, it’s because we spend a lot of time and energy doing something a robot could just as easily do.
So, how do you know what to automate? You can do this activity in a few ways. You can make a list or a Google sheet or spreadsheet.
Here are some questions to ask yourself and what you can do to help figure it out:
- Record what you do every day, how many times you do it, and how much time it takes each time.
- Without thinking about specific apps, think about a solution that would be valuable to you.
- Research tools (or look at existing marketing tech stack/tools to see what integration capabilities are available)
After you have finished your list or compiling your spreadsheet with your thoughts and potential solutions, here are some simple steps for identifying and setting up recurring tasks and automations:
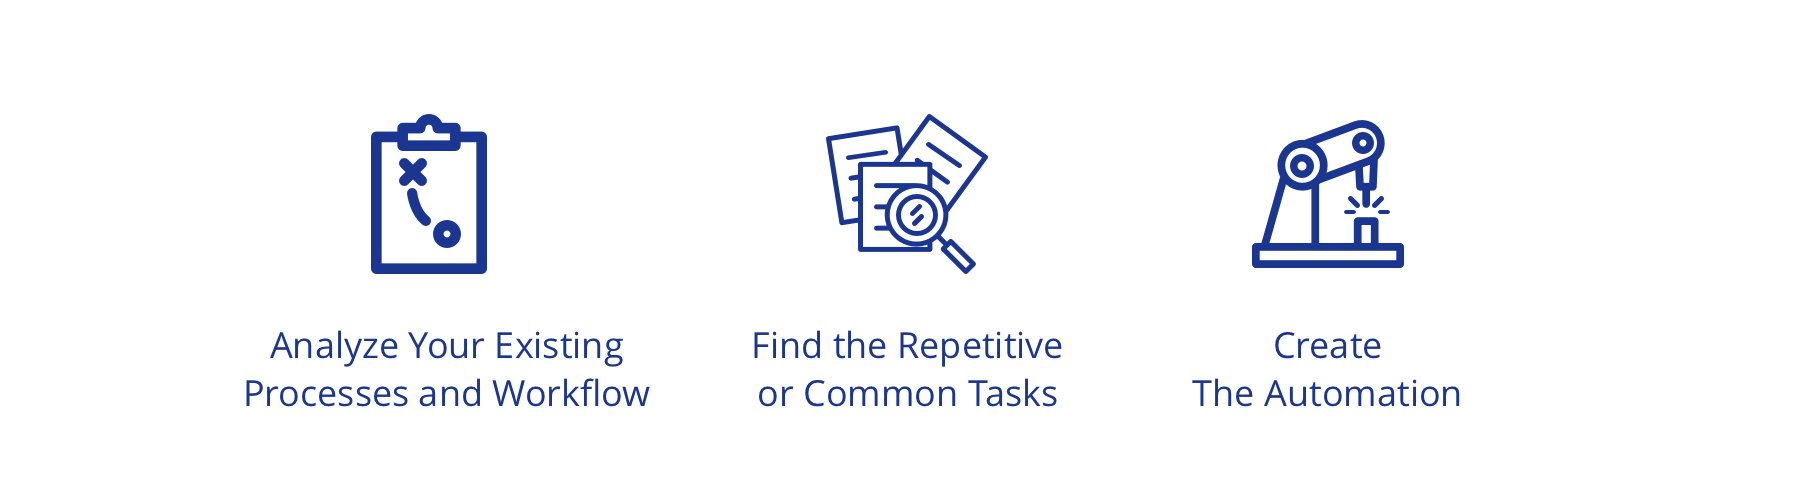
- Analyze your existing processes and workflows
- Find the repetitive or common tasks
- Create an automation to repeat the task or enter a set of tasks
Analyze Your Existing Processes and Workflows
Do you (or your team) perform the exact same tasks every single week and would rather make it an automated task? It could be as simple as “send the weekly progress report to Client X” that automatically re-appears on your plate every week.
We’ve talked quite a bit about really taking the time to understand your existing workflows and processes. You can leverage tools like RescueTime, Toggl, and Harvest to analyze and dissect where you spend your time and on what each day.
If you’re not familiar with the process or workflows from a team project, then work with your team to unpack the current process. Look for a specific set of repetitive requirements every single time a task enters a certain stage of the project or an update has been made to the task.
Find the Repetitive or Common Tasks
Working with your team can also help with this process. Every person and team member has their specific set of tasks. You can easily generate the same tasks, over and over according to your own preferences.
Not only can your team help you streamline your process and make it faster, it also removes the guesswork from trying to figure out what to automate and how.
You’ll undoubtedly find that every project has its quirks and opportunities for automation.
For example, publishing an article on your blog probably isn’t as simple as entering it into your project management tool and crossing your fingers that it will get done.
You’ll need to research the article, write it, edit it, have someone review and approve it, enter it into the content management system, optimize it for SEO, create an image for the article, and so on.
You could spend the manual time and effort entering in each of these tasks as sub tasks for every single article you can plan on writing, or you could automate that task entry.
Create an Automation to Repeat the Task or Enter in Sub Tasks
For example, your automation might look like “if a new task is added to the Editorial board under ‘Currently working on’, add in the following sub tasks....”
If you or your team spends a lot of time entering the same tasks over and over again, then these tasks should be automated.
In the exact same vein, automating recurring or repetitive tasks is just as easy.
Building An Automated System
So, you’re ready to build an automated system. Where do you start? Here are some steps to help you build an automated system.
- Name Your Project. You are going to be spending a lot of time on your project, so treat it like the family pet and give it a name. Not only is this just good practice, it will also ensure that project team members and stakeholders are on the same page and talking about the same project when referring to a project by its name rather than “you know, that project…”
-
Fill Up Your Toolbox. Remember that list of tasks and possible solutions that you wrote down earlier in this chapter? Now it’s take to break out that list and work on building the solutions that can help automate those tasks.
In a separate list or tab on your spreadsheet, make a list of the tools you need to set up your automations. For example, depending on your tasks and projects, this could include:
- Your project management tool
- Your calendar app
- Your email app
- Slack
- Zapier
Of course, those are just a few examples, but the goal in this step is to identify the tools you need, and set up accounts with those new tools (if you haven’t used them before).
If you play your cards right, some of the apps and tools that you already use may have built-in API capabilities and the ability to integrate with other apps. Take the time to look into your existing tools and see how you might be able to connect them.
-
Start Building Your Automations. Once you have mapped out your tools, apps, and how they will all flow together, it’s time to start building your automations. Depending on your experience with technology, you may want to ask your IT person or a team member for help.
-
Test. Now that you have built and set up your automations, you might be eager to get them up and running and getting your team to use them. However, it’s important to take the time to test them out first in order to prevent confusion.
Assign yourself or a team member a few tasks, add a new event or action item to your calendar, or send yourself a test email—whatever actions you have automated, test them out to make sure they work. This will also help you work out any “kinks” before involving your project team.

Automate your workflows today.
Use Rindle to start automating your processes today.
Try Free Book A DemoTask Automation Example
One of the most beautiful things about automation is that it allows you to really get creative. With thousands and thousands of apps available today, the majority of project teams use multiple apps to get their jobs done.
However, bouncing in between multiple apps eats up more time than what you probably realize. As we have already explored in this eBook, there are tons of opportunities to automate tasks in between those apps. We get it that this can also be overwhelming. So, we have built a task automation example for you to review and follow using Rindle.
Here’s an example of task automation at work using Rindle:
-
Step 1: Create a New Board. If you haven’t already, create a new board for your project. The easiest way to do this is by clicking on the Create Board button on your My Boards page.
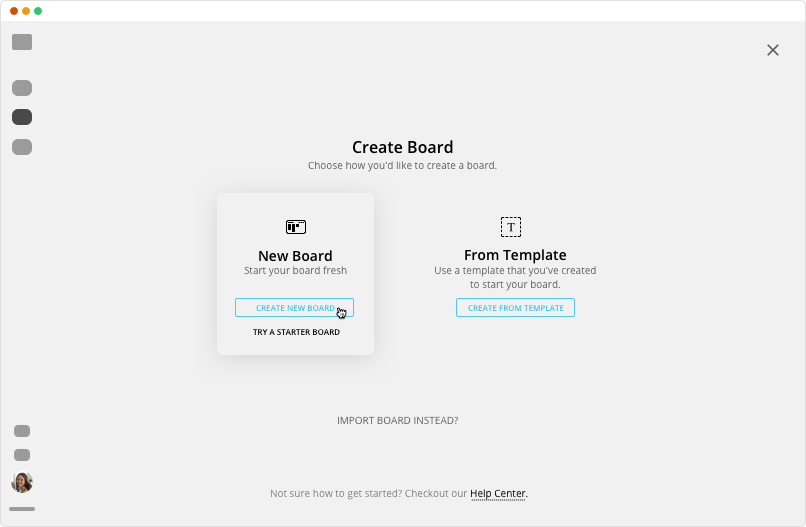
Figure 1: Create a new board for your project. Then, name your project and choose whether you prefer a column view or list view. For the sake of this example, we have selected the column view.
Finally, click Create.
-
Step 2: Column Check. Because we have selected the column view for our project, the default columns are “Todo”, “Doing”, and “Done” respectively. You can change the names of your columns, and even add/remove columns as you see fit. Take a few minutes and do this now.
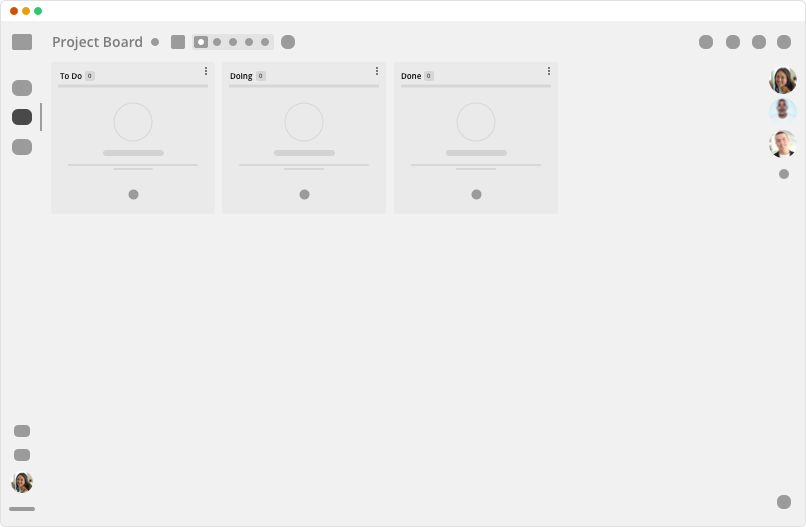
Figure 2: New board with the default columns "Todo", "Doing", and "Done" -
Step 3: Click on Automations. At the top right-hand part of your screen, click on the robot icon to see your existing automations and also build new ones.
We don’t have any automations built in our project yet, which is why this page says “no automations”. If we had automations set up already, they would appear here.
Click on the Create button to set up a new automation.
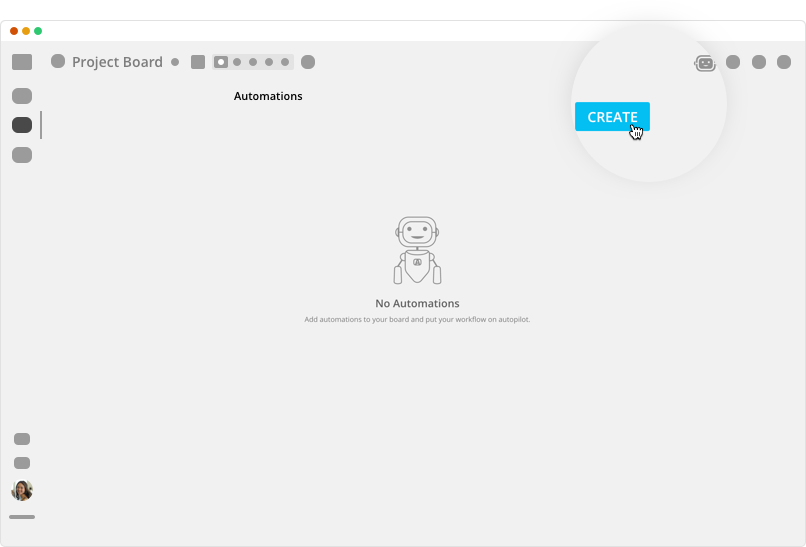
Figure 3: Get started with automations by create your first one. -
Step 4: Set Automation Rules. Now, we need to set automation rules. Basically, we want to tell Rindle what we want to automate. The “trigger” action is essentially the first action that needs to happen for a second action to happen.
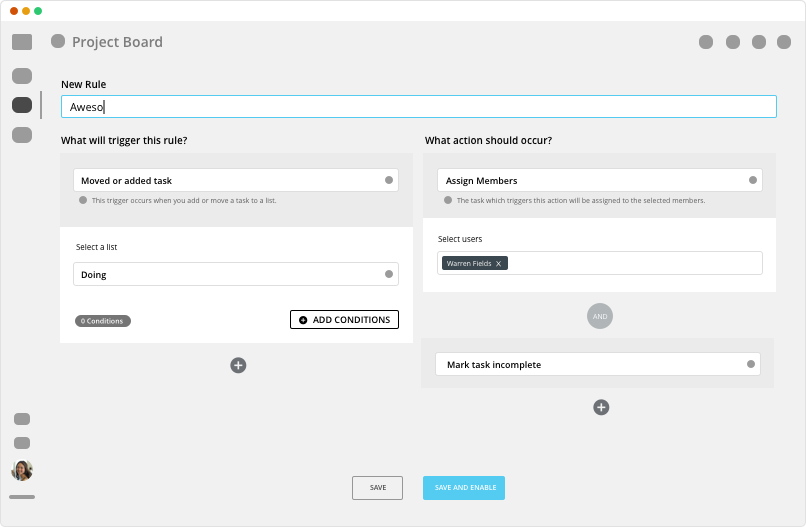
Figure 4: Set up your first automation rule. As you can see from the screenshot below, you have a multitude of actions that you can choose, including assigning team members, adding tags, and posting messages to a selected channel, just to name a few.
In this example, we want Rindle to automatically move a task to the next column when a team member marks it off as complete. So, we have selected the following criteria accordingly.
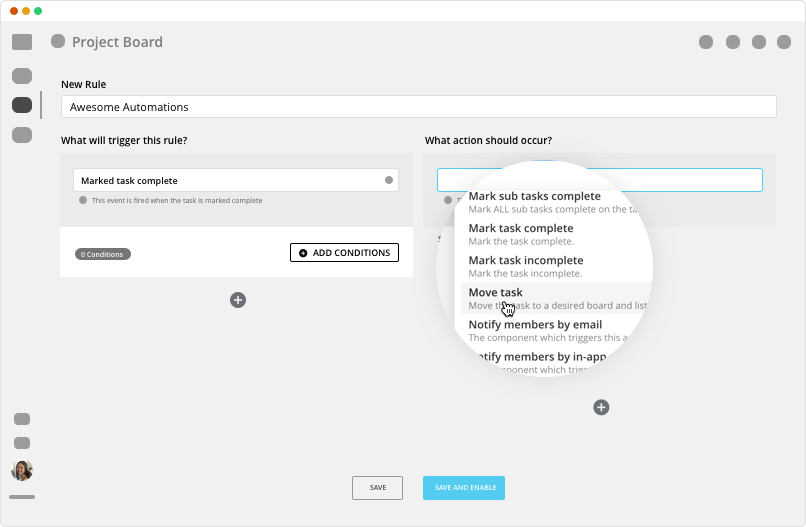
Figure 5: Set your rule to move the task when it's marked complete. -
Step 5: Save and Enable. Once you have finished setting up your automations, be sure to click Save and Enable. This will put your automations into action.
Now, when we return to our main automations page, we see the automation set up. If for some reason we wanted to shut off this automation to edit it, we can easily do so by toggling the automation to the “off” position.
Figure 6: Set your rule to move the task when it's marked complete.
Rindle was perfect for managing our client on-boarding workflow between our Customer Success and Customer Support departments. I had my team up and running in days, not weeks or months.